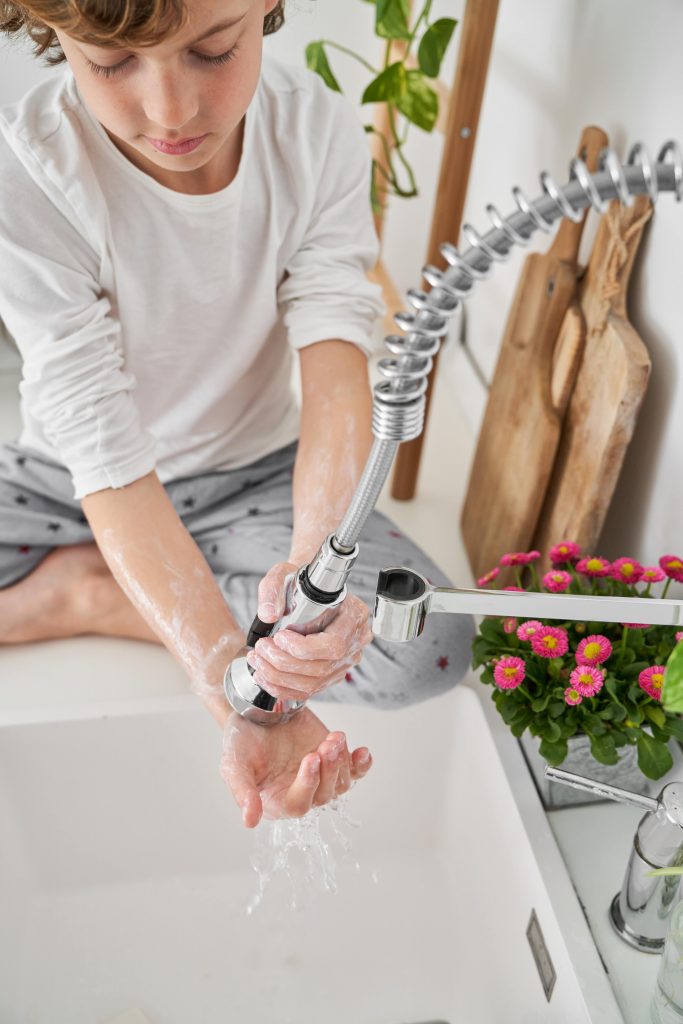
If your kitchen faucet is old and needs to be remove old kitchen faucet, you may be wondering how to remove the old kitchen faucet. Removing an old kitchen faucet can be a challenging task, but with the right tools and a little patience, it can be done! The first step is to turn off the water supply to the faucet. Next, use a wrench to remove the nuts that hold the faucet in place. Once the nuts are removed, the faucet can be pulled away from the sink. Finally, use a putty knife to remove any old caulk or sealant around the edges of the sink. With the old faucet gone, you can now install a new one in its place!
Assuming you have a basic understanding of how your kitchen faucet is put together, here are the steps to follow to remove an old one:
1. Begin by shutting off the water to your kitchen sink. You can do this by shutting off the valves under the sink, or if you don’t have shut-off valves, you’ll need to turn off the main water supply to your home.
2. Once the water is shut off, remove the decorative cap, if there is one, from the top of the faucet.
3. Use a wrench to loosen the large nut that secures the faucet to the sink. You may need to use pliers to remove this nut.
4. With the nut removed, you should be able to pull the faucet up and away from the sink.
5. Take a look at the supply lines (the pipes that bring water to the faucet) and note how they are configured. You’ll need to install the new faucet in the same configuration.
6. Install the new faucet by reversing the steps above. Be sure to hand-tighten all of the nuts and bolts, then use the wrench to give them a final tightening.
7. Turn the water back on and test your new faucet!
Table of Contents
Types of faucets
There are many types of faucets on the market today. Here is a quick rundown of some of the most popular types:
- Ball faucets – These faucets have a ball-shaped control knob that is used to open and close the water flow. They are very easy to use and are often used in kitchens.
- Cartridge faucets – These faucets have a cartridge inside the handle that controls the water flow. They are very durable and are often used in bathrooms.
- Compression faucets – These faucets have two handles that are used to control the water flow. They are often used in laundry rooms and kitchens.
- Disk faucets – These faucets have a disk inside the handle that controls the water flow. They are very durable and are often used in bathrooms.
- Lever faucets – These faucets have a lever-type control knob that is used to open and close the water flow. They are very easy to use and are often used in kitchens.
- Motion sensor faucets – These faucets have a sensor that detects motion and automatically turns on the water flow. They are often used in public restrooms.
- Touchless faucets – These faucets have a sensor that detects your hand and automatically turns on the water flow. They are very convenient and are often used in kitchens.

Types of faucet tools you will need
There are a few different types of faucet tools that you may need, depending on the type of faucet you have. If you have a compression faucet, you will need a wrench to loosen the nuts that hold the handles in place. You will also need a wrench to remove the packing nut, which is located under the sink. To remove the cartridge, you will need a special tool that is made for this purpose. If you have a ball faucet, you will need a wrench to remove the retaining nut, which is located under the sink. You will also need a special tool to remove the ball. If you have a cartridge faucet, you will need a special tool to remove the cartridge.
How to remove old kitchen faucet
If your kitchen faucet is starting to show its age, you may be thinking about replacing it. But before you do, you need to know how to remove the old faucet.
Start by shutting off the water supply to the faucet. Then, remove the handle by unscrewing the set screw that holds it in place. Once the handle is off, you should be able to see the retaining nut that holds the faucet in place. Use a wrench to loosen and remove the nut, and then pull the faucet out of the sink.
If you’re replacing the faucet with a new one, the process is pretty much the reverse. Start by threading the new faucet into the sink, and then tighten the retaining nut to hold it in place. Next, attach the handle and screw on the set screw to secure it. Finally, turn on the water supply and test the faucet to make sure it’s working properly.
That’s all there is to it! With a little bit of effort, you can easily remove old kitchen faucet and install a new one.

How to install the new faucet
If your faucet is old and outdated, or you just want to update the look of your kitchen, then installing a new faucet is a great option. Here are some easy steps to follow to get the job done:
1. Turn off the water to your sink. This is usually done by turning the valves underneath the sink.
2. Remove the old faucet. This will require disconnecting the water lines and unscrewing the faucet from the sink.
3. Install the new faucet. Once the old faucet is removed, you can start installing the new one. Make sure to connect the water lines correctly and to use the proper screws and bolts to secure the new faucet in place.
4. Turn on the water and test the new faucet. Once everything is installed correctly, you can turn the water back on and test out your new faucet!
Tips and tricks for a quick and easy installation
If you’re looking for tips and tricks for a quick and easy installation, you’ve come to the right place! Here are a few tips to help you get the job done quickly and easily:
1. Read the instructions carefully before you start. This will help you understand the process and make sure you don’t forget any steps.
2. Gather all the tools and materials you need before you start. This will save you time and frustration later on.
3. Take your time and don’t rush. Rushing can lead to mistakes, and that will only make the installation process take longer.
4. Ask for help if you need it. If you’re not sure about something, don’t be afraid to ask a friend or family member for help.
5. Enjoy the process! Installation can be a great opportunity to learn new things and get your hands dirty. Embrace it and have fun!
Tips for avoiding common problems
If you’re like most people, your kitchen faucet is one of the most used fixtures in your home. Over time, it can become loose, leaky, and just generally worn out. Here are a few tips to help you avoid common problems with your kitchen faucet:
1. Check the O-ring. The O-ring is a small rubber ring that helps seal the connection between the faucet and the sink. Over time, it can become cracked or damaged, which can cause leaks. To check it, simply unscrew the faucet and take a look at the O-ring. If it’s damaged, replace it with a new one.
2. Don’t overtighten the screws. When you’re reassembling your faucet, be careful not to overtighten the screws. This can damage the O-ring (as well as the finish on your faucet).
3. Use plumber’s putty. When you’re installing a new faucet, be sure to use plumber’s putty to create a watertight seal between the faucet and the sink.
4. Clean the aerator. The aerator is the small screen at the end of the faucet that controls the water flow. Over time, it can become clogged with mineral deposits. To clean it, simply unscrew it and soak it in vinegar overnight. In the morning, brush it clean with a toothbrush.
5. Don’t use harsh chemicals. Harsh chemicals can damage the finish on your kitchen faucet. When cleaning it, stick to mild soap and water.
By following these simple tips, you can help keep your kitchen faucet in top condition for years to come.
Troubleshooting tips
If you’re having trouble installing your kitchen faucet, here are a few troubleshooting tips to help you out.
1. Make sure the water supply lines are properly connected. If they’re not, the faucet won’t work properly.
2. Make sure the mounting nuts are tight. If they’re not, the faucet will be loose and could leak.
3. Make sure the O-rings are in place and not damaged. If they’re damaged, they could cause leaks.
4. Make sure the escutcheon is properly installed. If it’s not, the faucet will be loose and could leak.
5. If you’re still having trouble, contact a plumber or the manufacturer of the faucet for assistance.
After Removing Old Kitchen Faucet you need to keep the kitchen clean
After removing old kitchen faucets, it’s important to keep your kitchen clean with little effort. Here are some tips to help you do just that:
- Wipe down your counters and appliances regularly. This will help keep them free of dirt and grime.
- Sweep and mop your floors often. This will keep them looking clean and fresh.
- Empty your garbage can regularly. This will keep odors from building up in your kitchen.
- Wash your dishes promptly. This will prevent food from drying on and making a mess.
By following these simple tips, you can keep your kitchen clean with little effort.
FAQs about kitchen faucets
If you’re considering upgrading your kitchen faucet, you may have some questions about the installation process. Here are a few FAQs that can help
How difficult is it to install a kitchen faucet?
The difficulty of installing a kitchen faucet depends on your plumbing skills and the type of faucet you’re installing. If you’re comfortable working with plumbing and have a basic understanding of how your kitchen’s water supply works, you may be able to install a simple faucet on your own.
What tools do I need to install a kitchen faucet?
To install a kitchen faucet, you’ll need a few basic tools, including a wrench, a screwdriver, and pliers. You may also need a utility knife, a hammer, and a putty knife.
How long does it take to install a kitchen faucet?
The time it takes to install a kitchen faucet varies depending on your experience and the complexity of the faucet. A simple faucet can usually be installed in an hour or less, while a more complex faucet may take several hours.
What are the most common problems with kitchen faucet installation?
The most common problems with kitchen faucet installation are leaks. If you’re not confident in your skills, it’s best to hire a professional to avoid any potential problems.
Installing a kitchen faucet can be a simple or complex task, depending on your skills and the type of faucet. If you’re not confident in your abilities. With the right tools and a little bit of time, you can upgrade your kitchen faucet without any problems.
Conclusion
If you’re having trouble to remove old kitchen faucet, there are a few things you can try. First, make sure that the water supply is turned off. Next, try loosening the nuts that hold the faucet in place. If that doesn’t work, you may need to use a wrench or pliers to remove the faucet. Follow these steps and you’ll have a new faucet in no time.
Here are outdoor tools you may like: Leaf Blower Review

